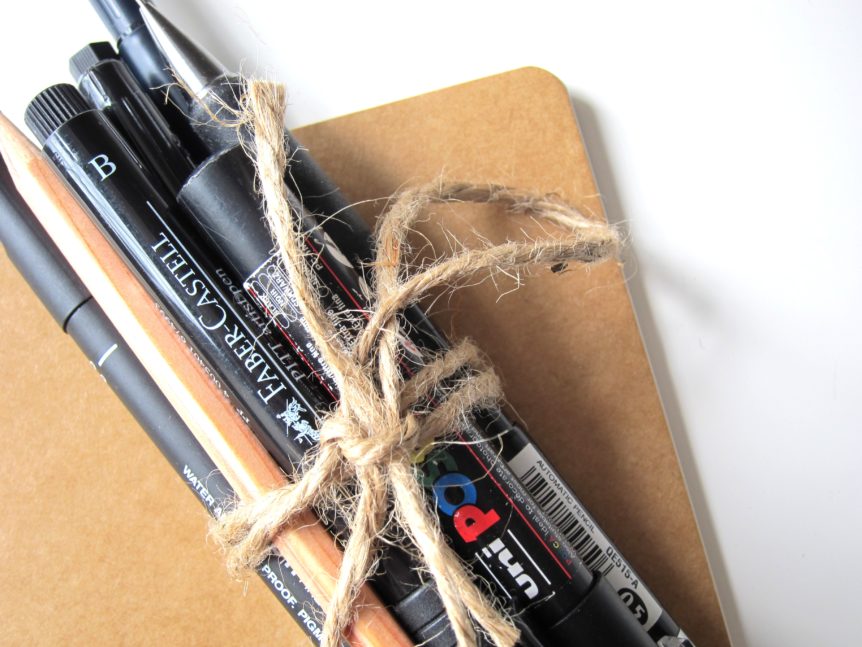
Pens can be found in offices, reception areas, seminars, etc. They’re basically all over the place and are even partnered with presentation folder, which is an advantage that most of us overlook. These ink-spewing tools are also the favoured promotional items for businesses and companies.
But for an item of such popularity with substantial use, not much is known about the process to print on pen a company’s or business’ logo. Today, we’ll be talking about how they brand their pens that they distribute during corporate meetings, events, and trade fairs. Let’s go and take a look at the process of printing logos on pens!
1. Thinking of the Occasion
If a business or company is thinking about making personalized pens, it’s important that they think about where and how to disseminate them. As a matter of fact, most personalized pens are often made with a kind of event in mind.
2. Picking a Pen Model
To fully maximise the effect and make the logo stand out, it’s important to pick the right kind of pen. There are many types of pens to choose from, such as double line pens, riocolour pens, Sumatra pens, and so much more. Before proceeding with the design process, it’s best to get a preview of the logo’s final results on the pen, so a better picture of what it could look like would be established.
3. Selecting the Right Colour
Once a type of pen model has been chosen, the personalisation process can now start. Starting off with choosing the colour that suits the logo best, businesses and companies can either go for bolder and brighter colours, giving their pens a more creative aesthetic. If they prefer more of a classic style, then the colours blue, white, and black, are the colours they’d want to use.
4. Planning the Quantity
Now that the type of pen and the right colour has been chosen, what’s next is to come up with a realistic number, as to how much logo is needed to print on pen. The number of people that these pens will be sent to is important because the price per unit is solely dependent on how many printed pens are ordered.
5. It’s Time to Make a Logo!
With everything prepared, the next thing to do is find a reliable printing company who will print the logo onto the pen of one’s choosing. The printing company will then use the various tools with me, in order to deliver high-resolution and high-quality printing results.
6. Changing and Editing the Logo
There are moments when certain details (perhaps a small line or a misplace colour) causes everything in the design to look off. When this happens, it’s best to collaborate with the printing company to change the logo, so that the best image for the pens is achievable. Editing and removing unnecessary details opens up more spaces to include other important details.
7. Keeping in Mind some Important Things to Consider
The logo must be seen at all times while the person is writing. With that being said, positioning is very important and since over 90% of the world’s population is right-handed, it’s best to put the logo where it’ll be facing the majority of people.
8. Finishing the Product
After looking at the preview and double-checking the logo and how it would look like on the pen, the product is finally ready to be finished. Once they’re done with it, it’s expected that the printing company will contact their clients and eventually deliver it to them.
Having a logo print on pen is an extremely effective marketing and branding strategy. Getting the right elements in place is a crucial aspect here, which is why you should never rush designs. But all of the trouble is worth it because not only are clients promoting brands, but they’re also gifting people with something that stays with them every day.


 1300 483 455
 0418 260 940
 132 Marsden St, Parramatta


